
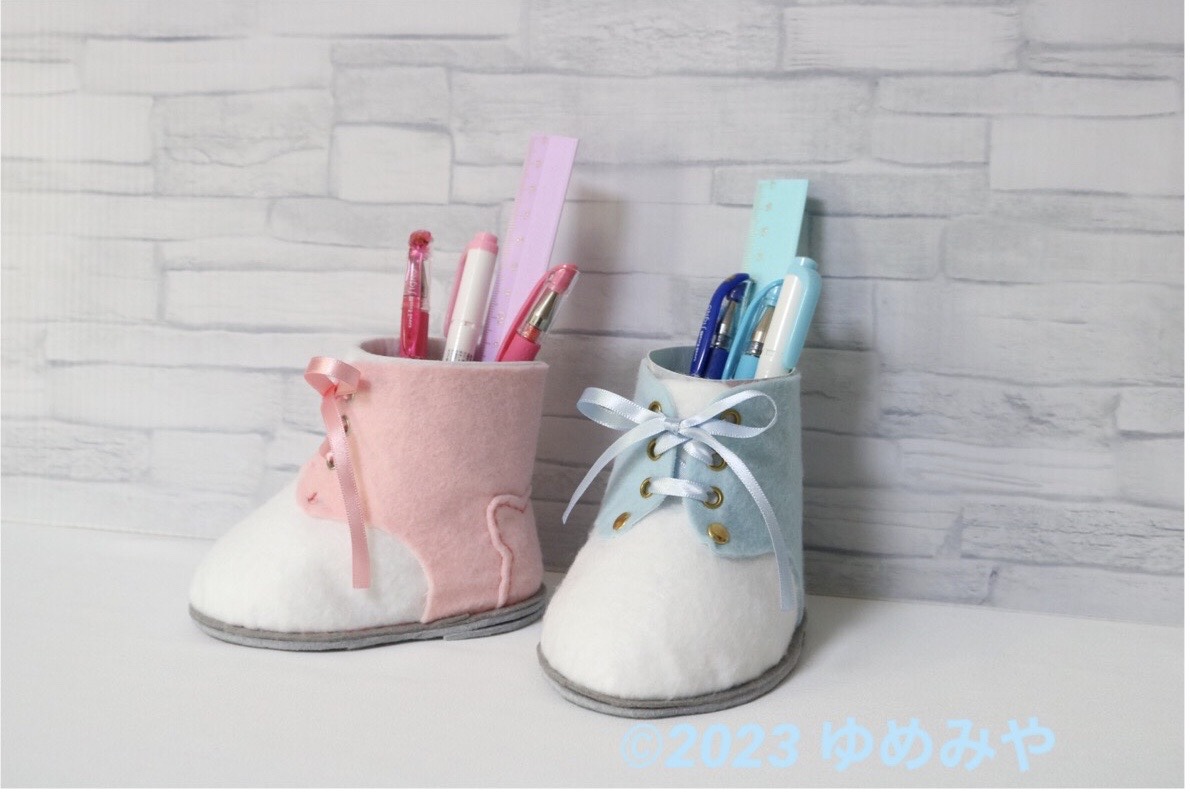
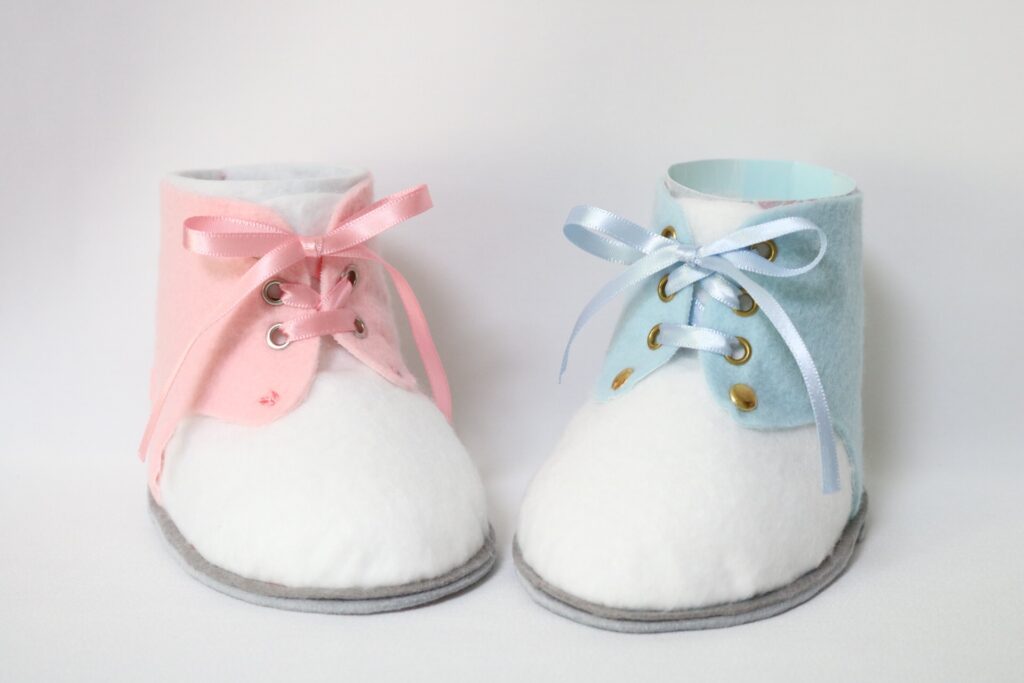
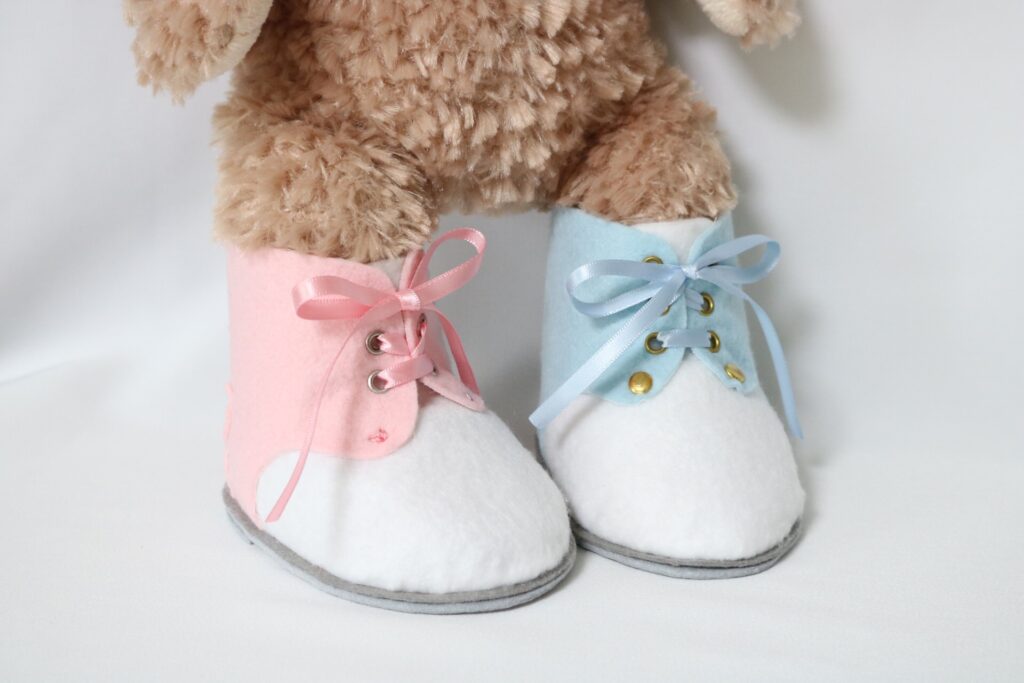
編み上げブーツのカタチのペン立てです。
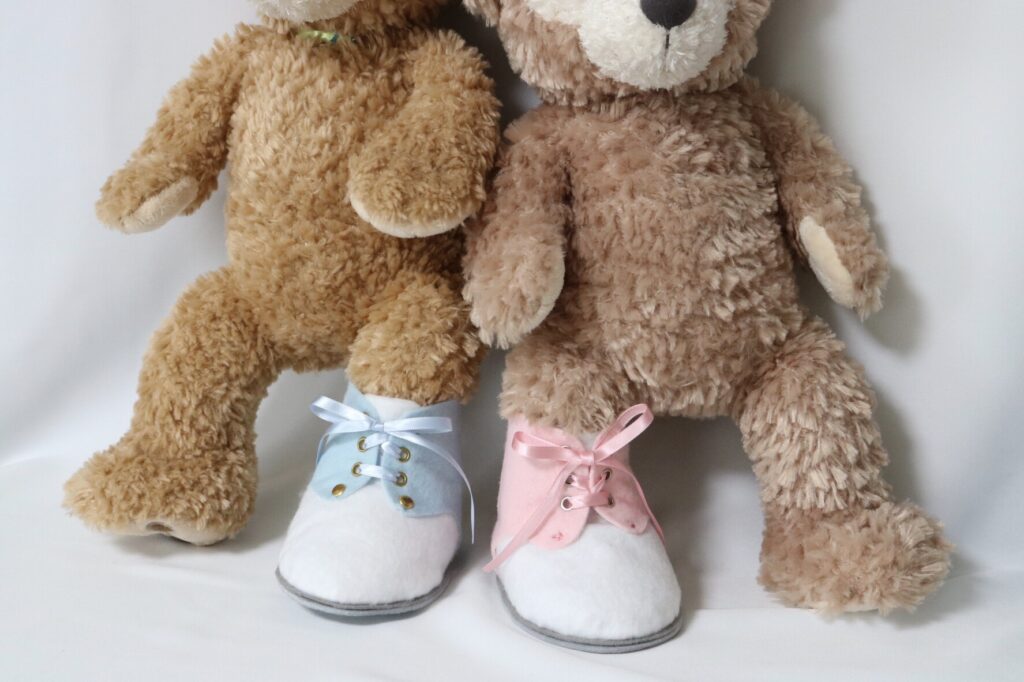
ペン立てですが、インナーケースを入れない場合は、ぬいぐるみのブーツにもなります。
夏休みの工作用にフェルトで作っています。
縫い方は、レザークラフトのように平縫いで縫っていますが、なみ縫いで互い違いに二周してもOKです。
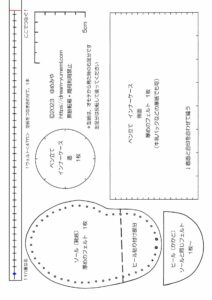
*型紙*
A4用紙 2枚
PDFファイルです

*メモ*
・100%サイズだと、Sサイズのダッフィーなどのぬいぐるみが着用可能です。
・インナーケースを、サプリメントなどのビンにすると、安定感が増します。
*作り方のメモ*
1.表地に使うフェルトの裏面に接着芯を貼る(伸び止め&補強)
2.縫い穴などの印を写す
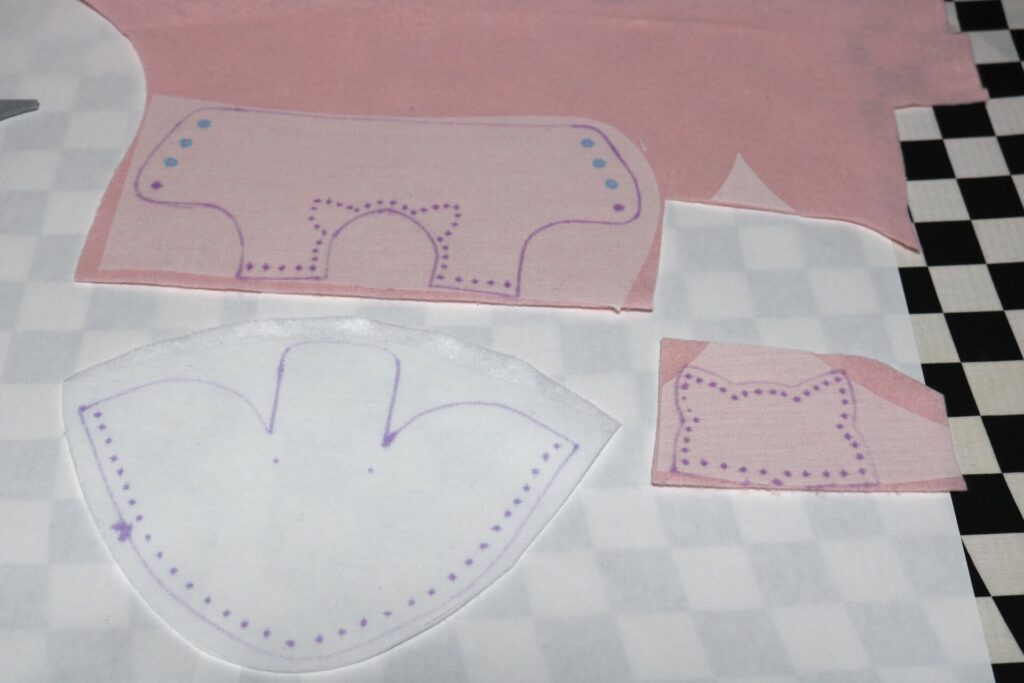
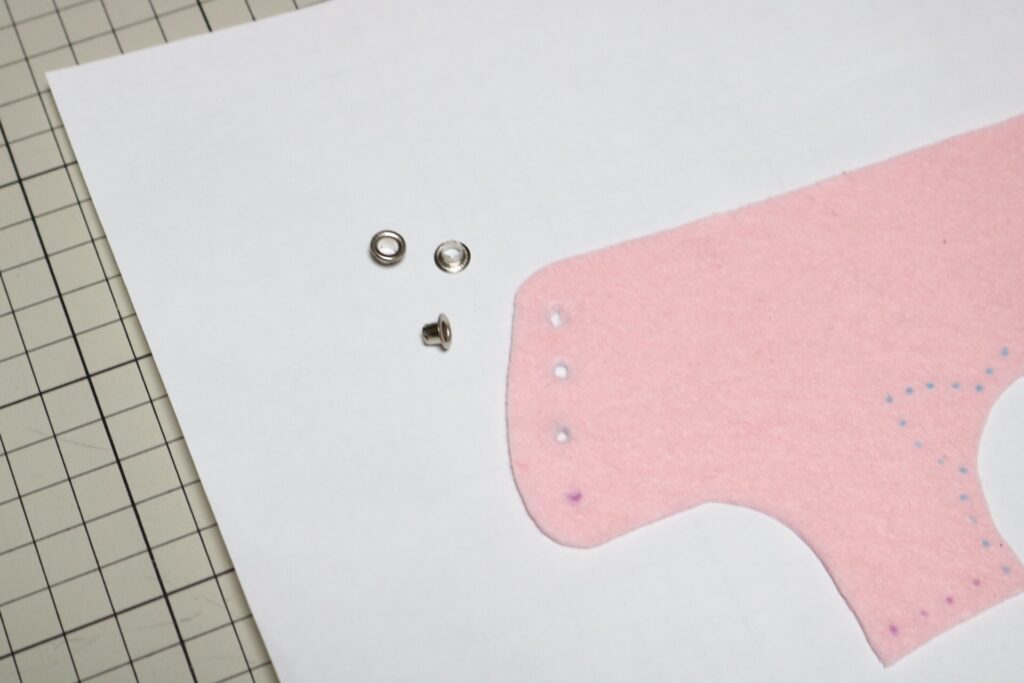
3.フェルトを切り出す
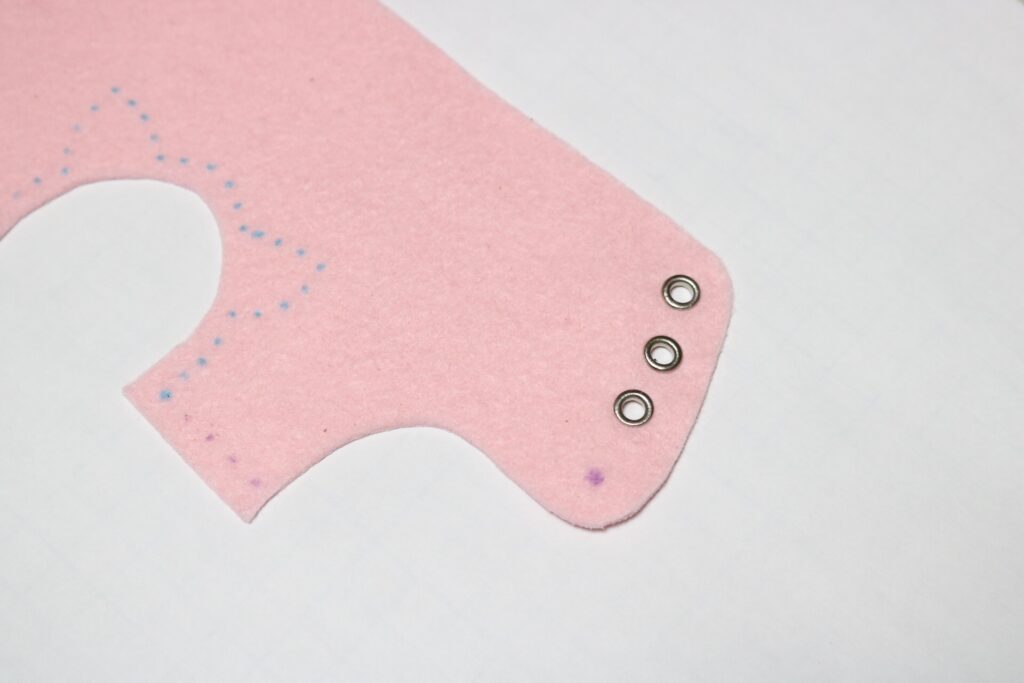
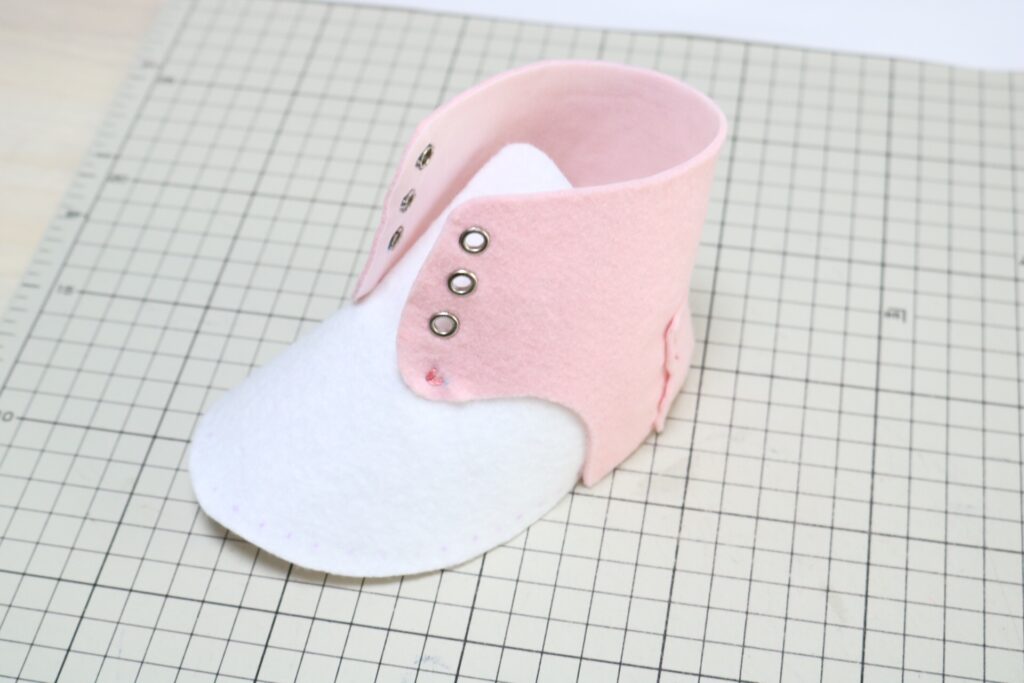
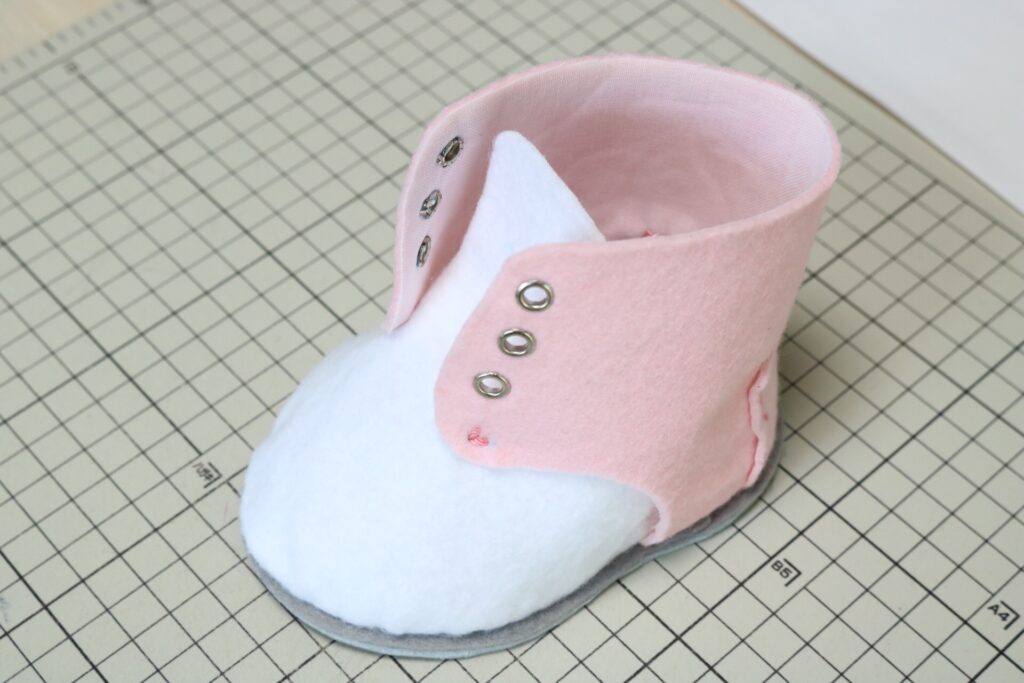
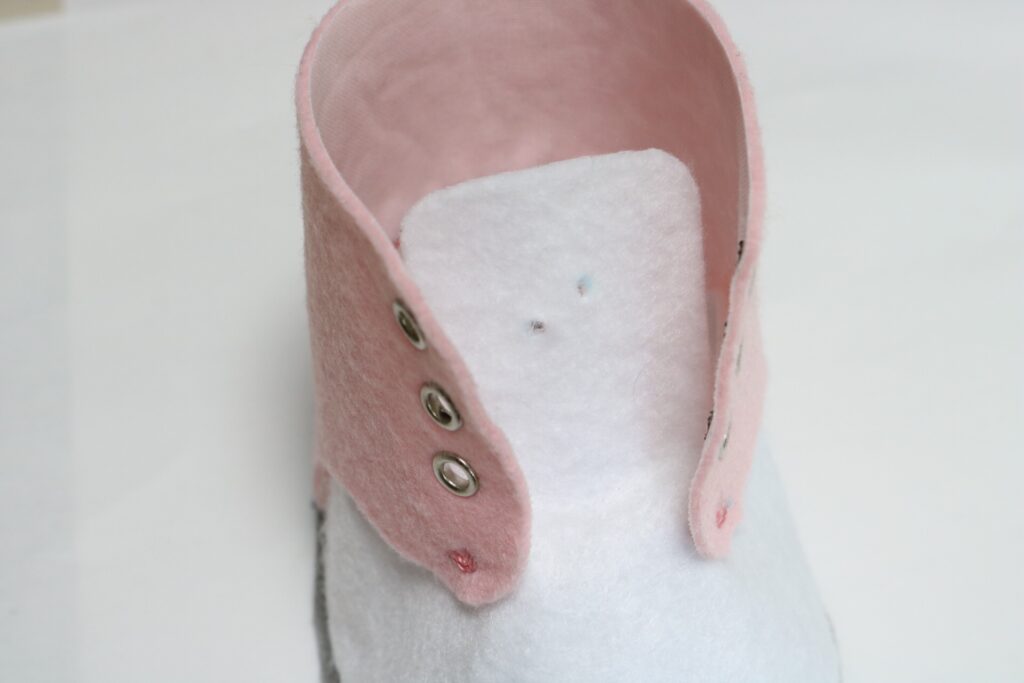
4.ハトメ穴をあける
好みでハトメをつける(作例は#5のハトメを付けました)
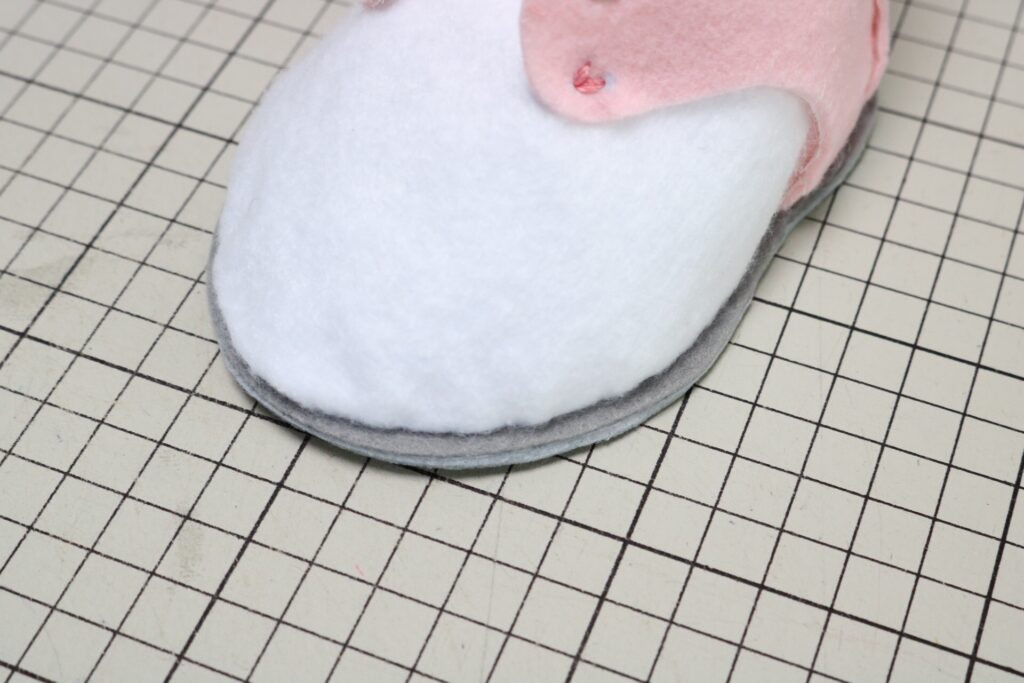
5.羽根パーツに、かかと用パーツを縫い付ける
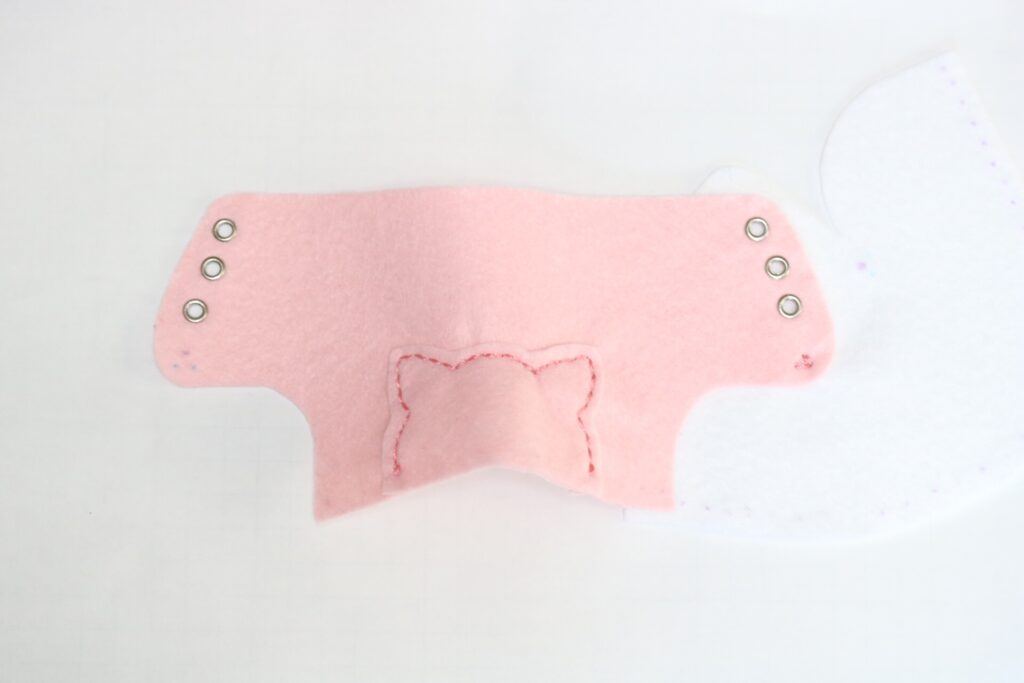
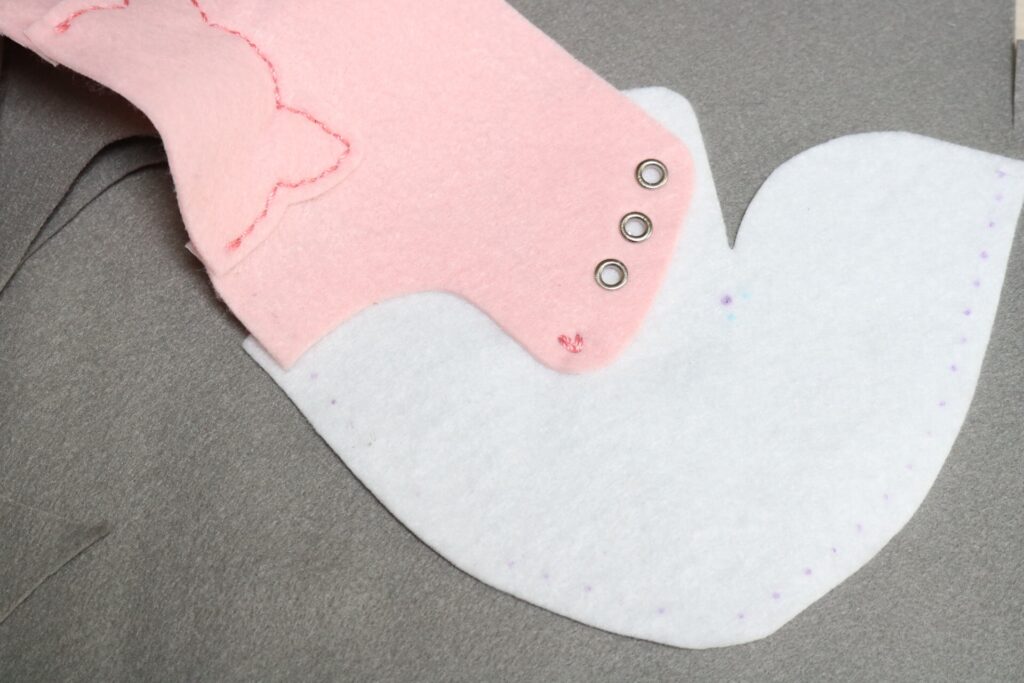
6.バンプ(甲)に、羽根パーツを縫い付ける
*大きいほうの印に合わせて、カシメで留めてもOKです
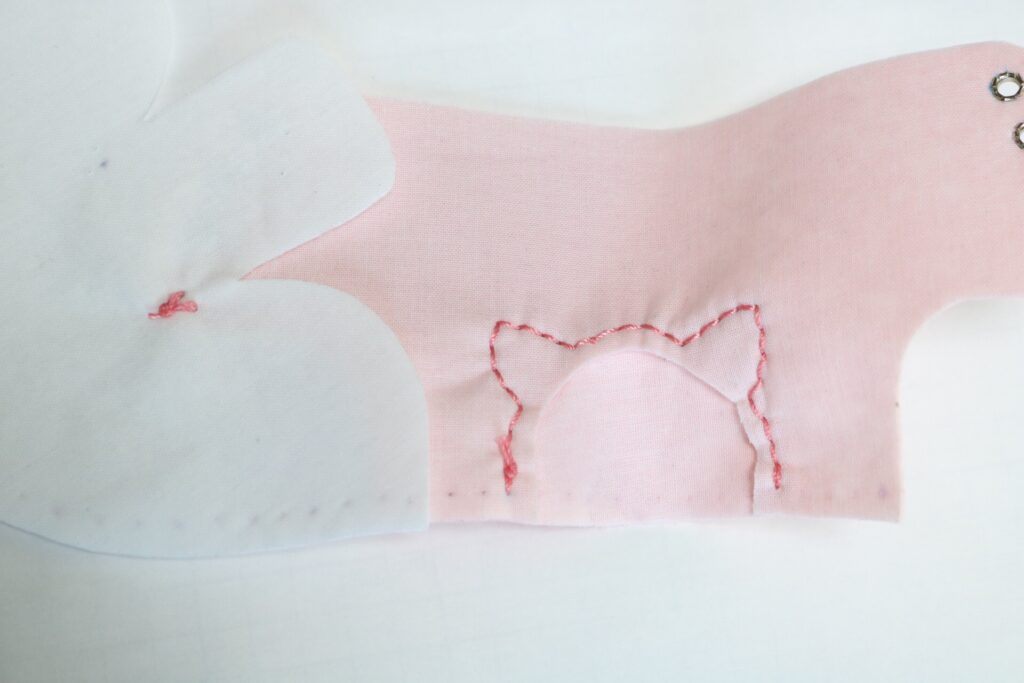
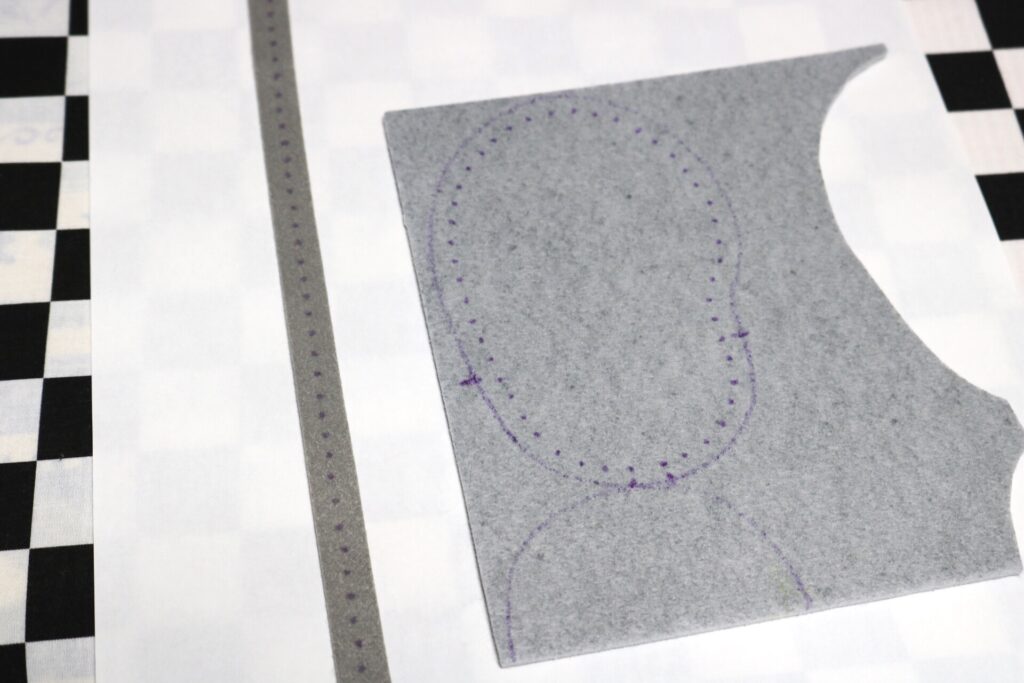
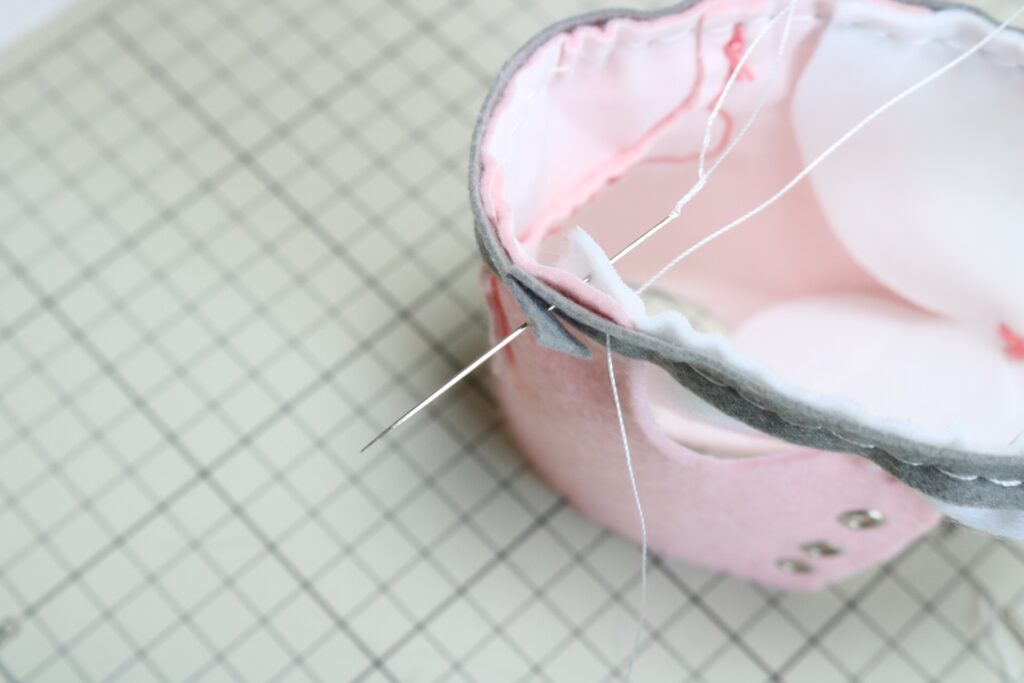
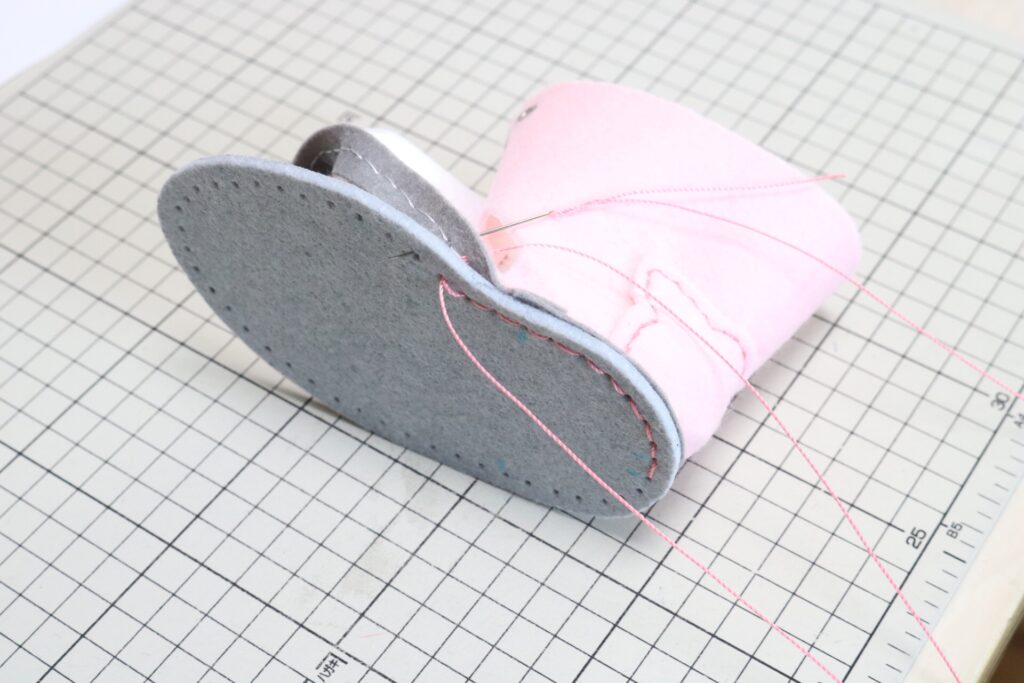
7.ウェルトを縫い付ける

ウェルトのつなぎ目が目立たないように、内側部分から縫い始める
ウェルトは一目重なる
バンプと羽根パーツの両サイドは、二目ずつ重なる
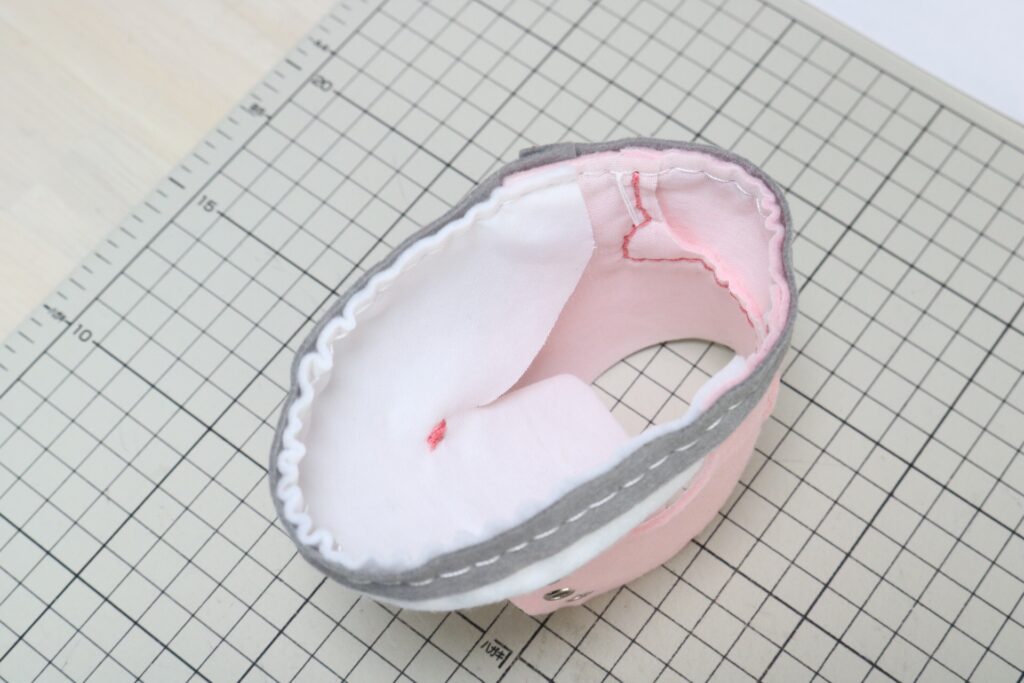
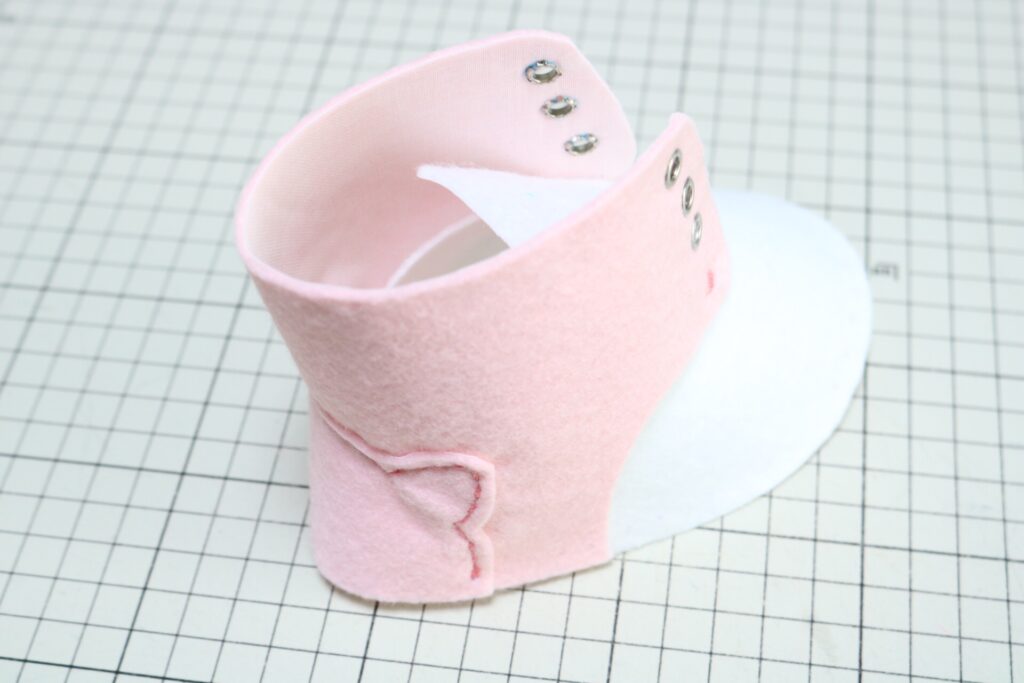
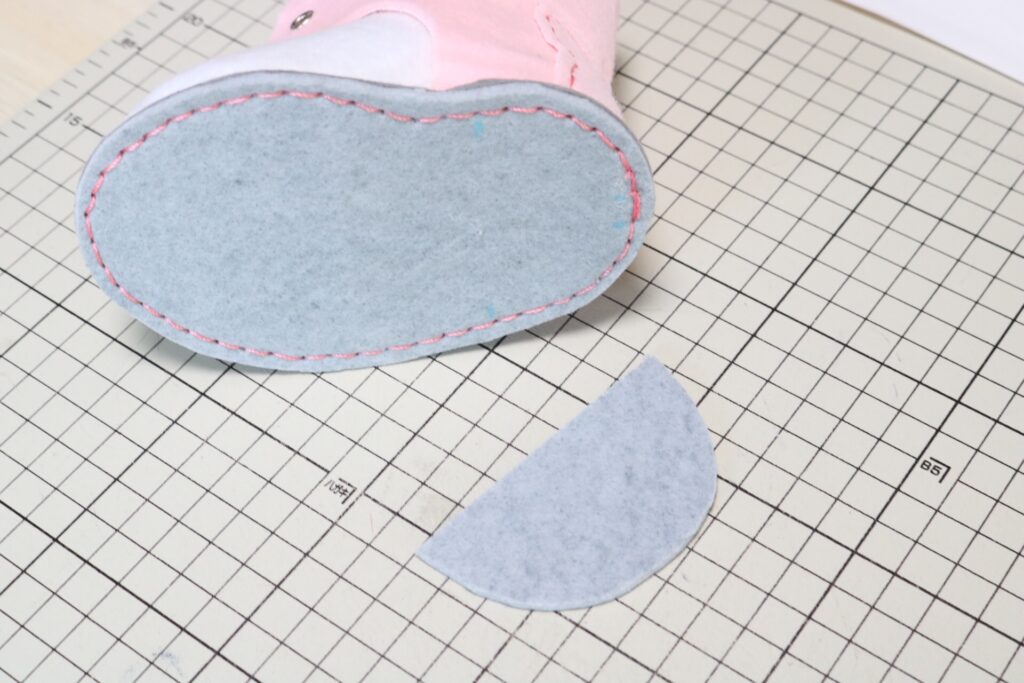
8.ウェルトと、ソールを縫い合わせる
後ろ中心をはさんだ二目が、始点
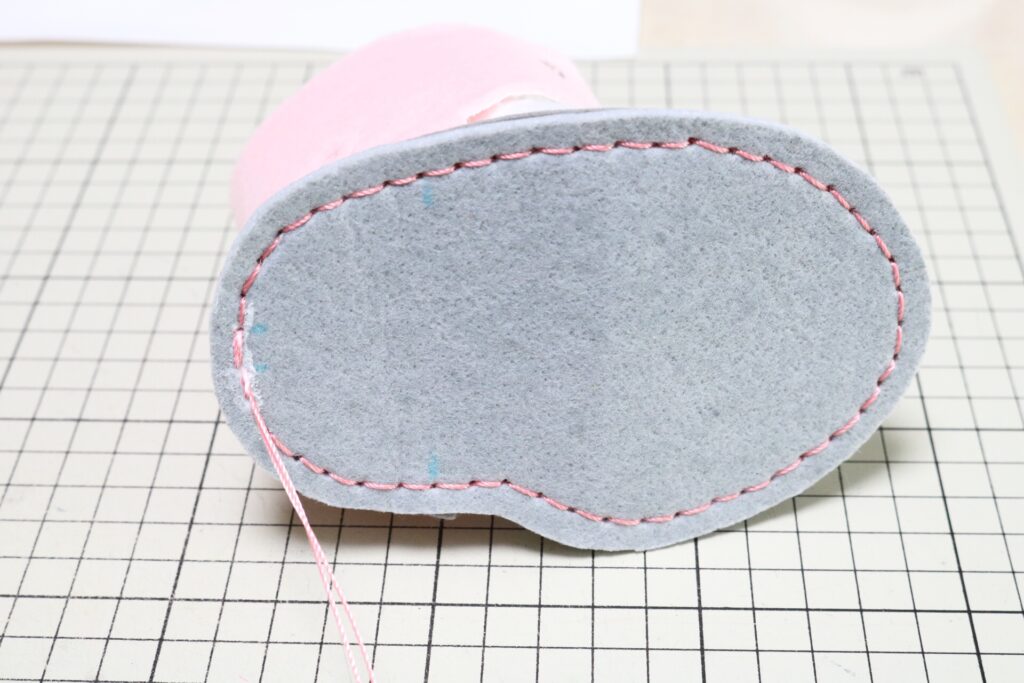
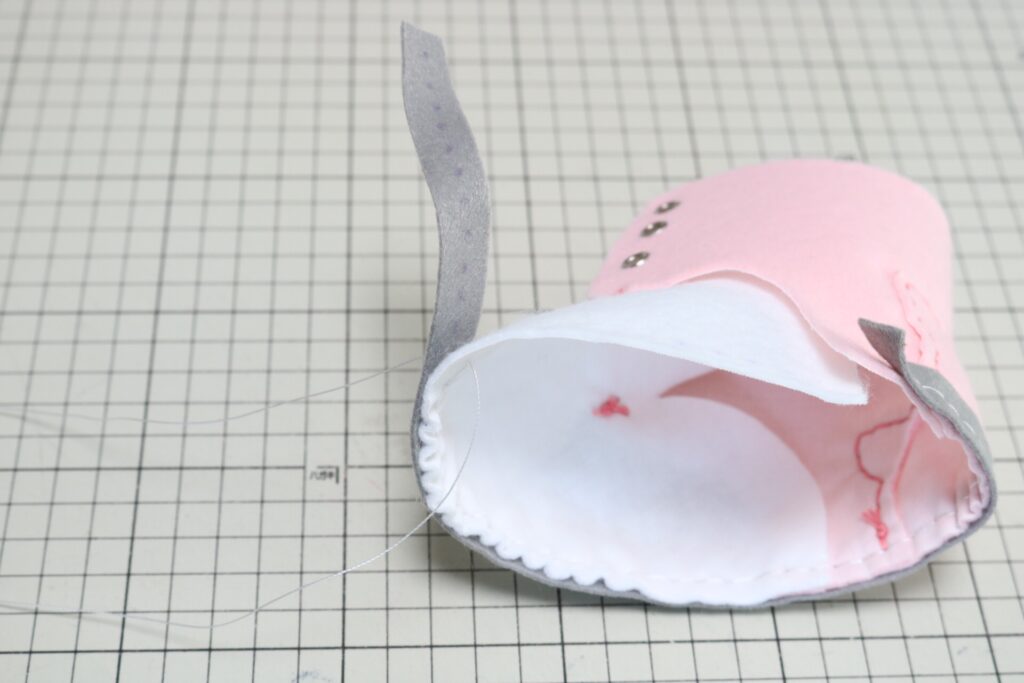
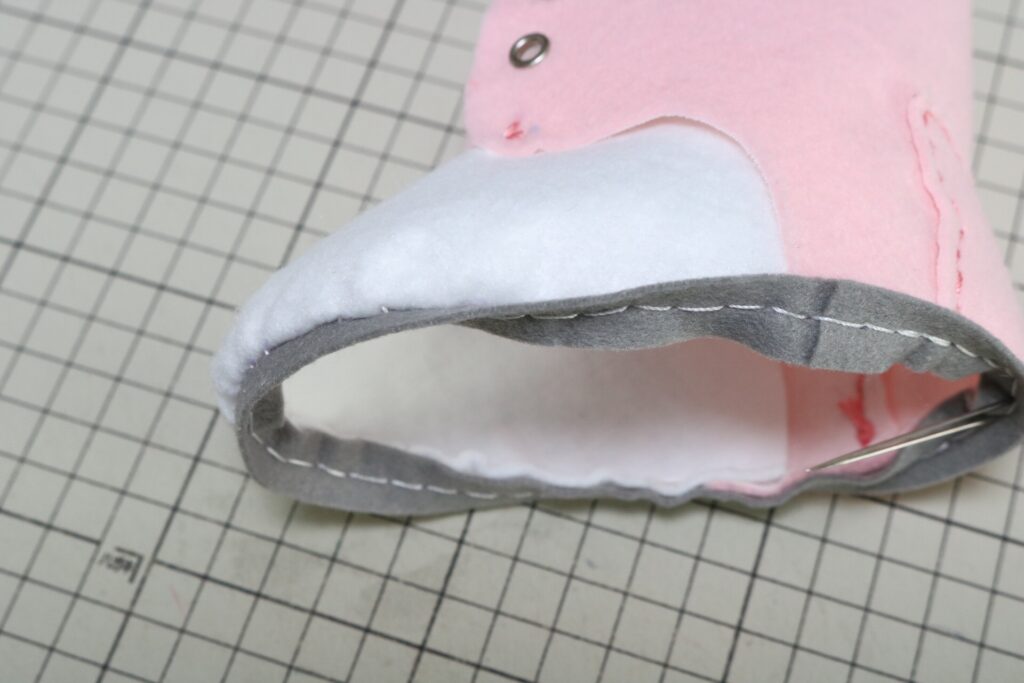
9.ソールとウェルトの幅の調整
余分なところを切り取る
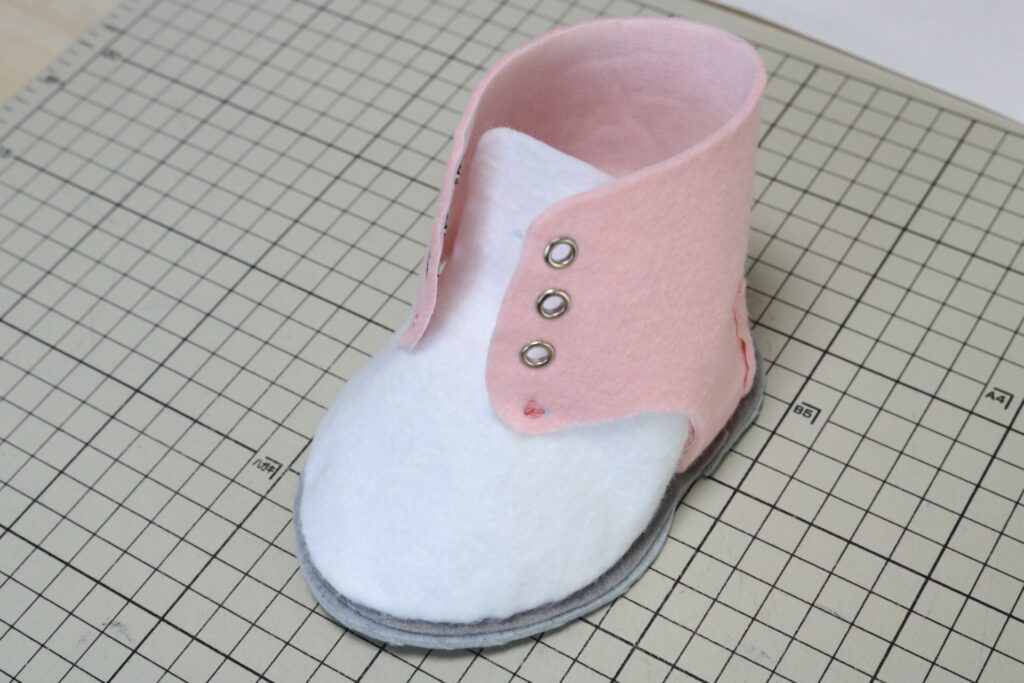
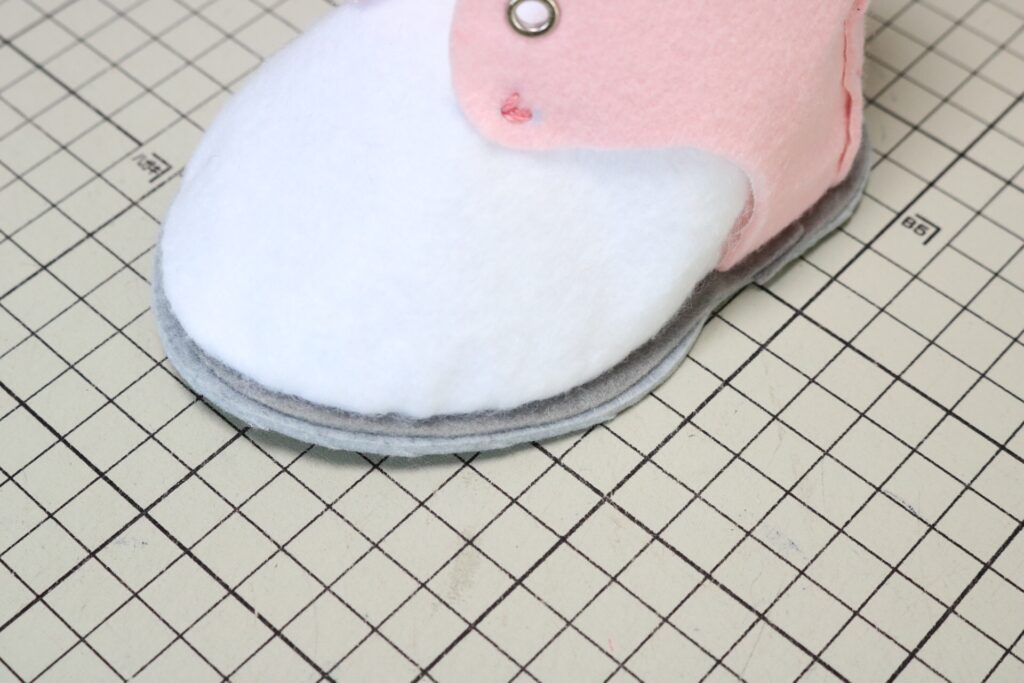
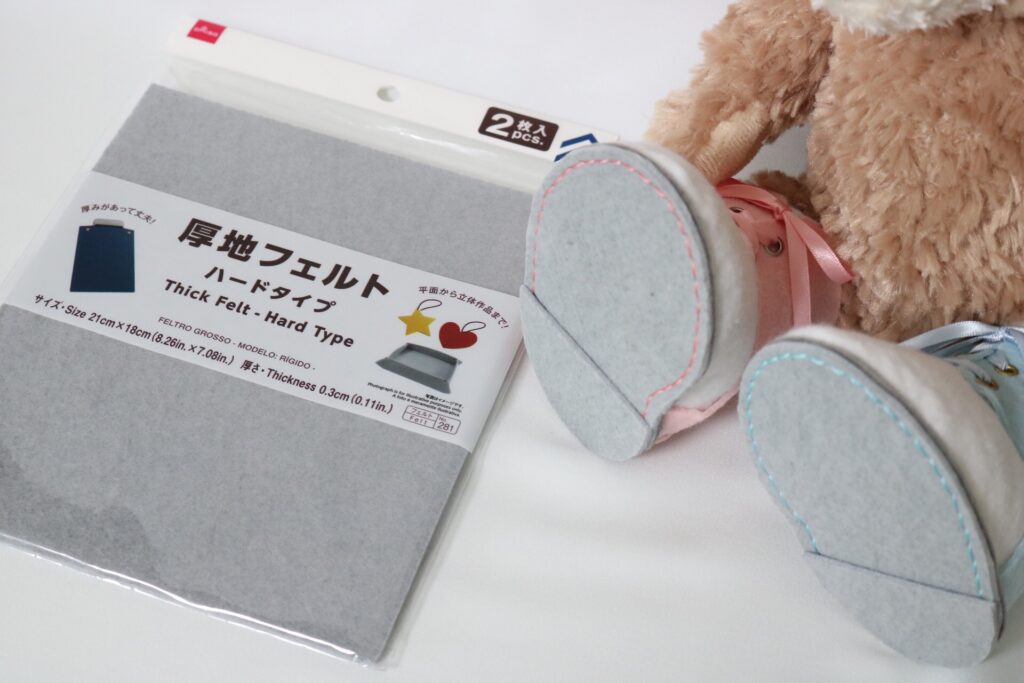
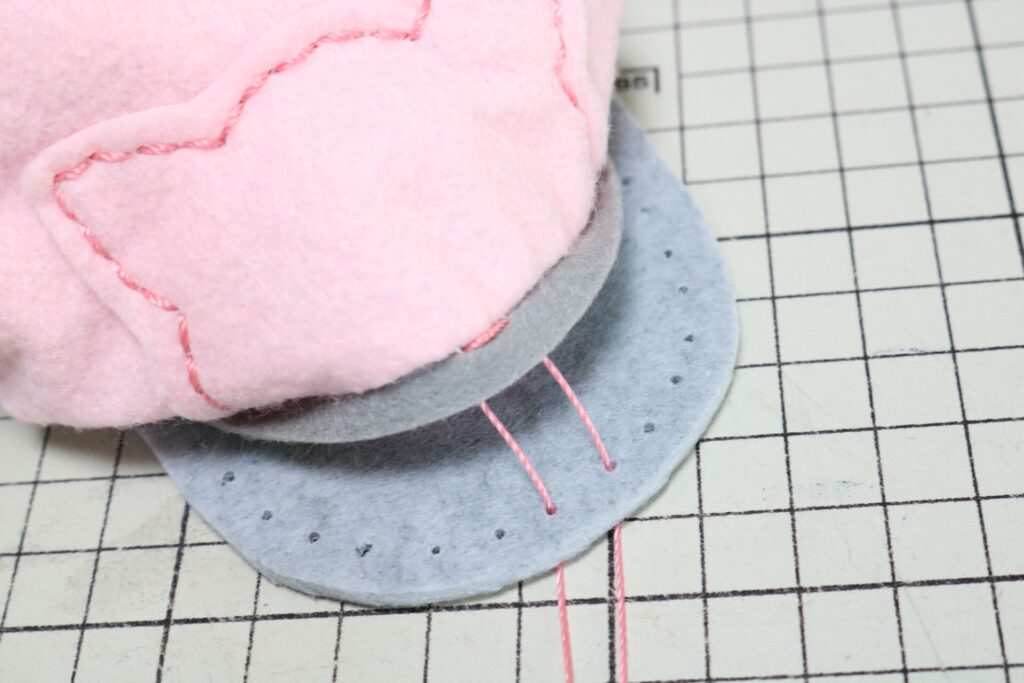
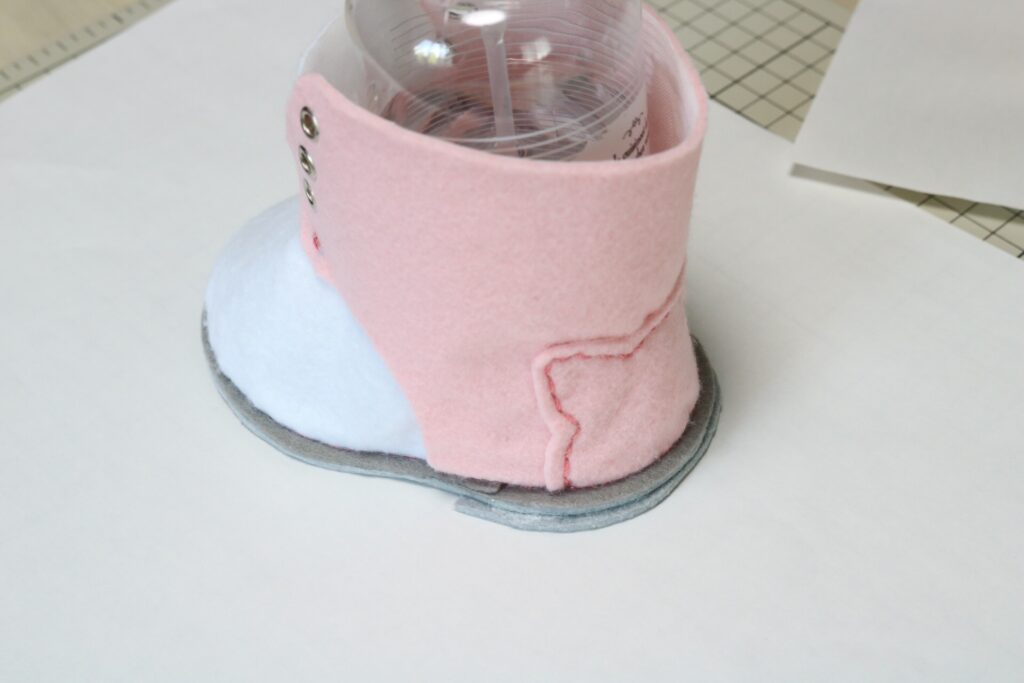
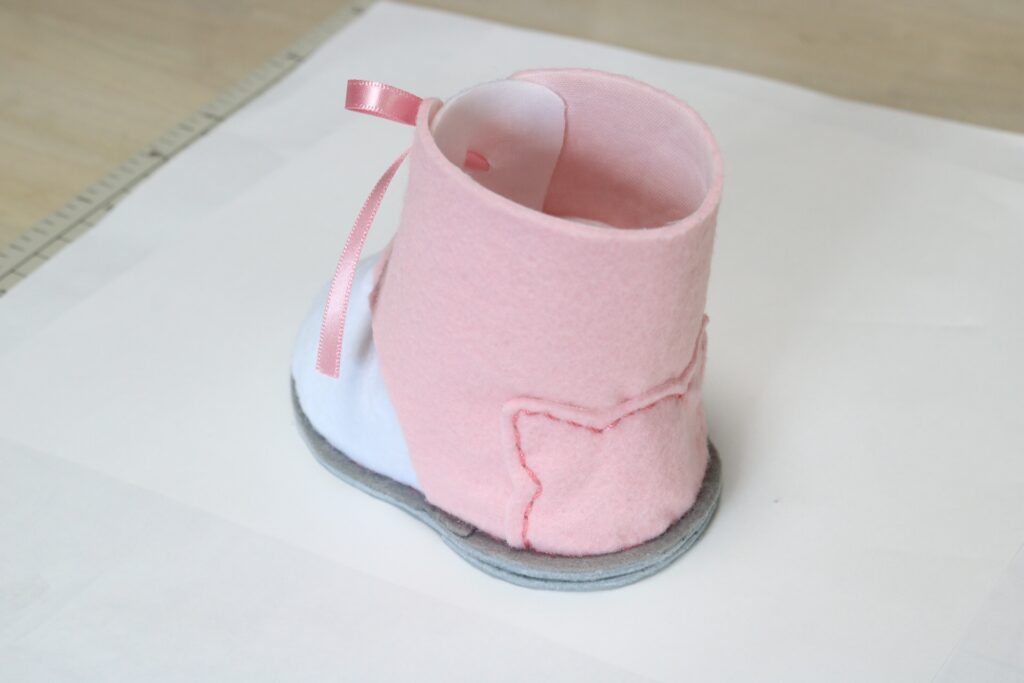
10.ヒールを貼り付ける
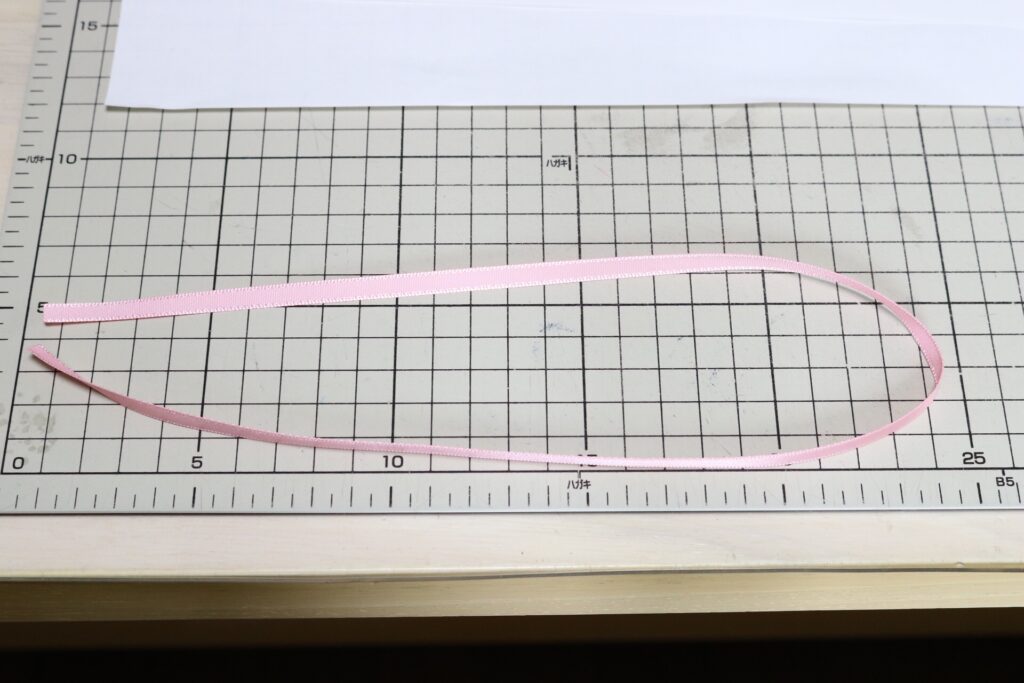
11.編み上げ用のリボンを用意する
切り口のほつれ止めの処理をしておく
12.リボンを通す
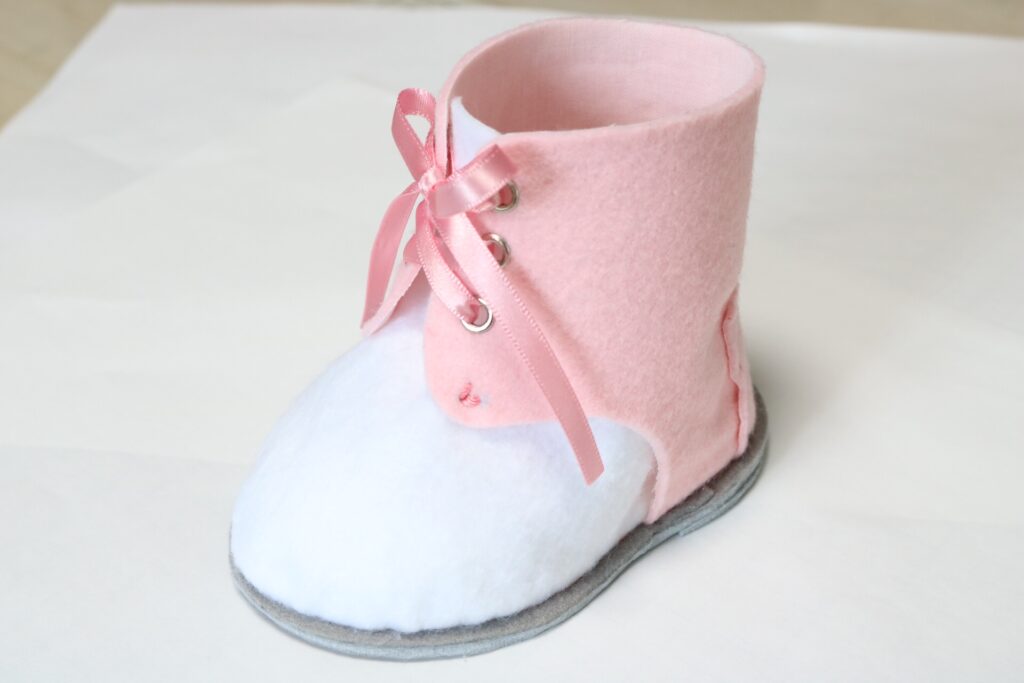
ブーツは完成!
インナーケースは、次のページへ……
コメント